I have for you fast pic tutorial to create step by step mixed media spring valentine card!
Do you love Valentine's Day? I love this day, so I prepared card for Lucas - my fiance!
Enjoy! :)
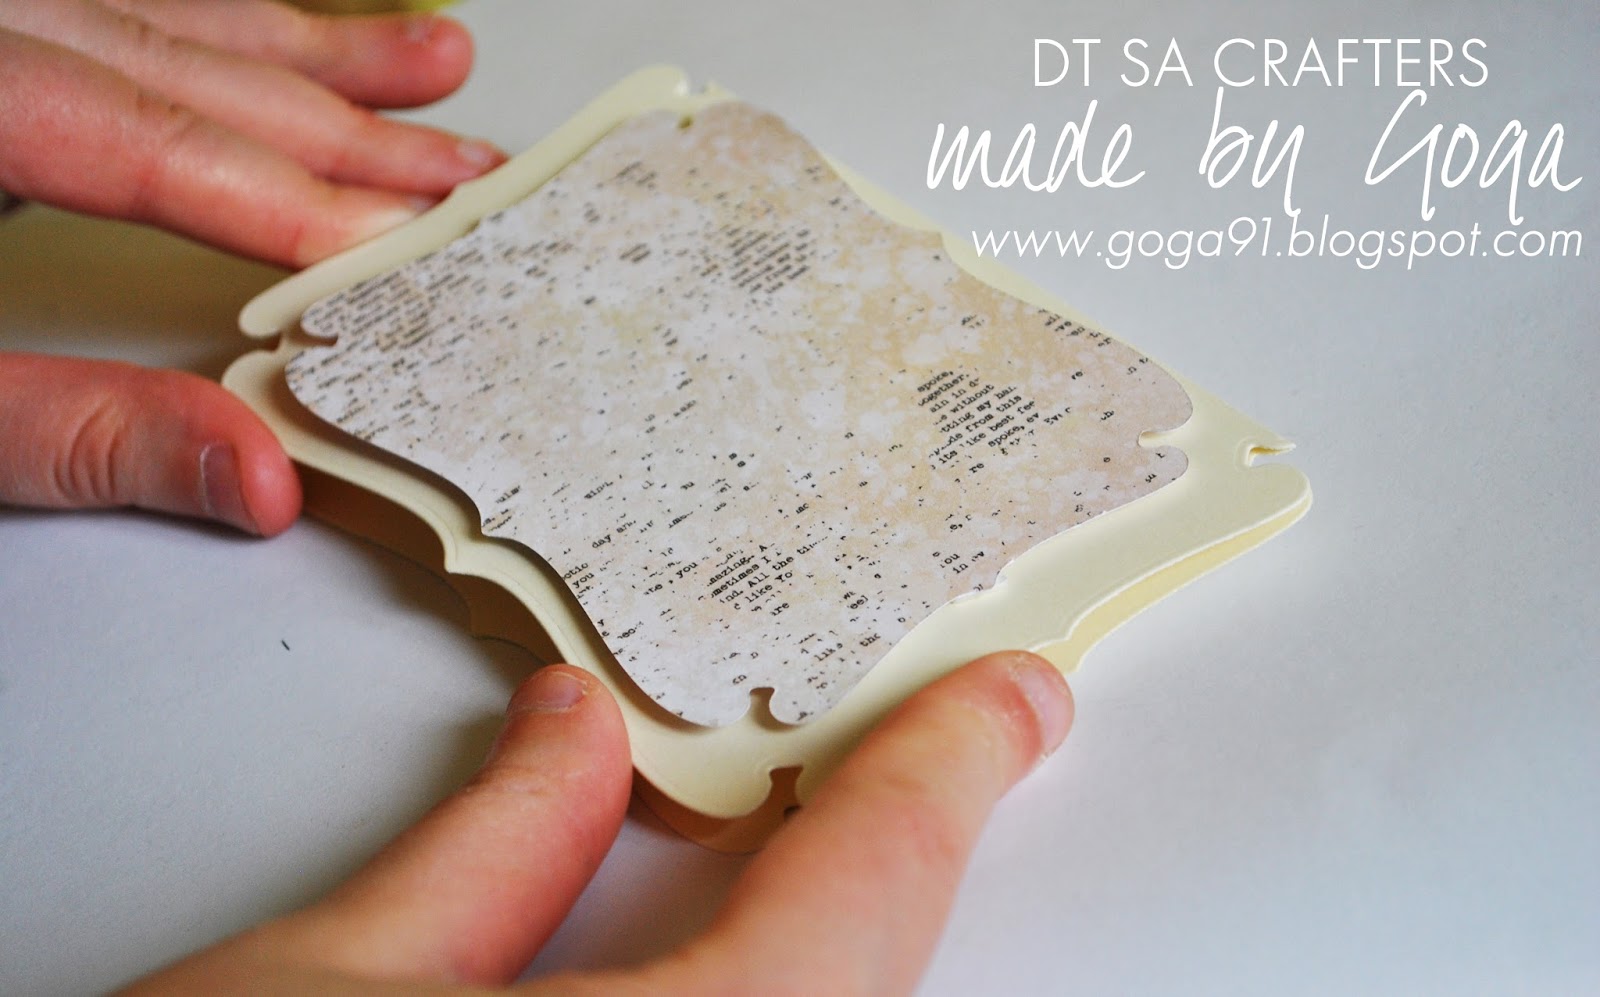
1. Firstly, to begin with, you have to remember that…I prepared a card base using one of my fav Xcut dies - Nesting - Rectangle parenthesis 2
2. After that I cut a smaller diecut too and sticking it by adhesive tape to my base.
3. Next step? Painting chipboards! I decided that my mixed media valentine card will be a spring climate! So I chose some colours of twinkling h20 to painting my flourish chipboards!
4. Love this effects! :) Twinkling h20 with water are incredible!!!! Further, my flourish chipboard looks great!!!!
5. Time to build composition of my work! It's a really simple step! I used gel medium to stick my flowers to paper.
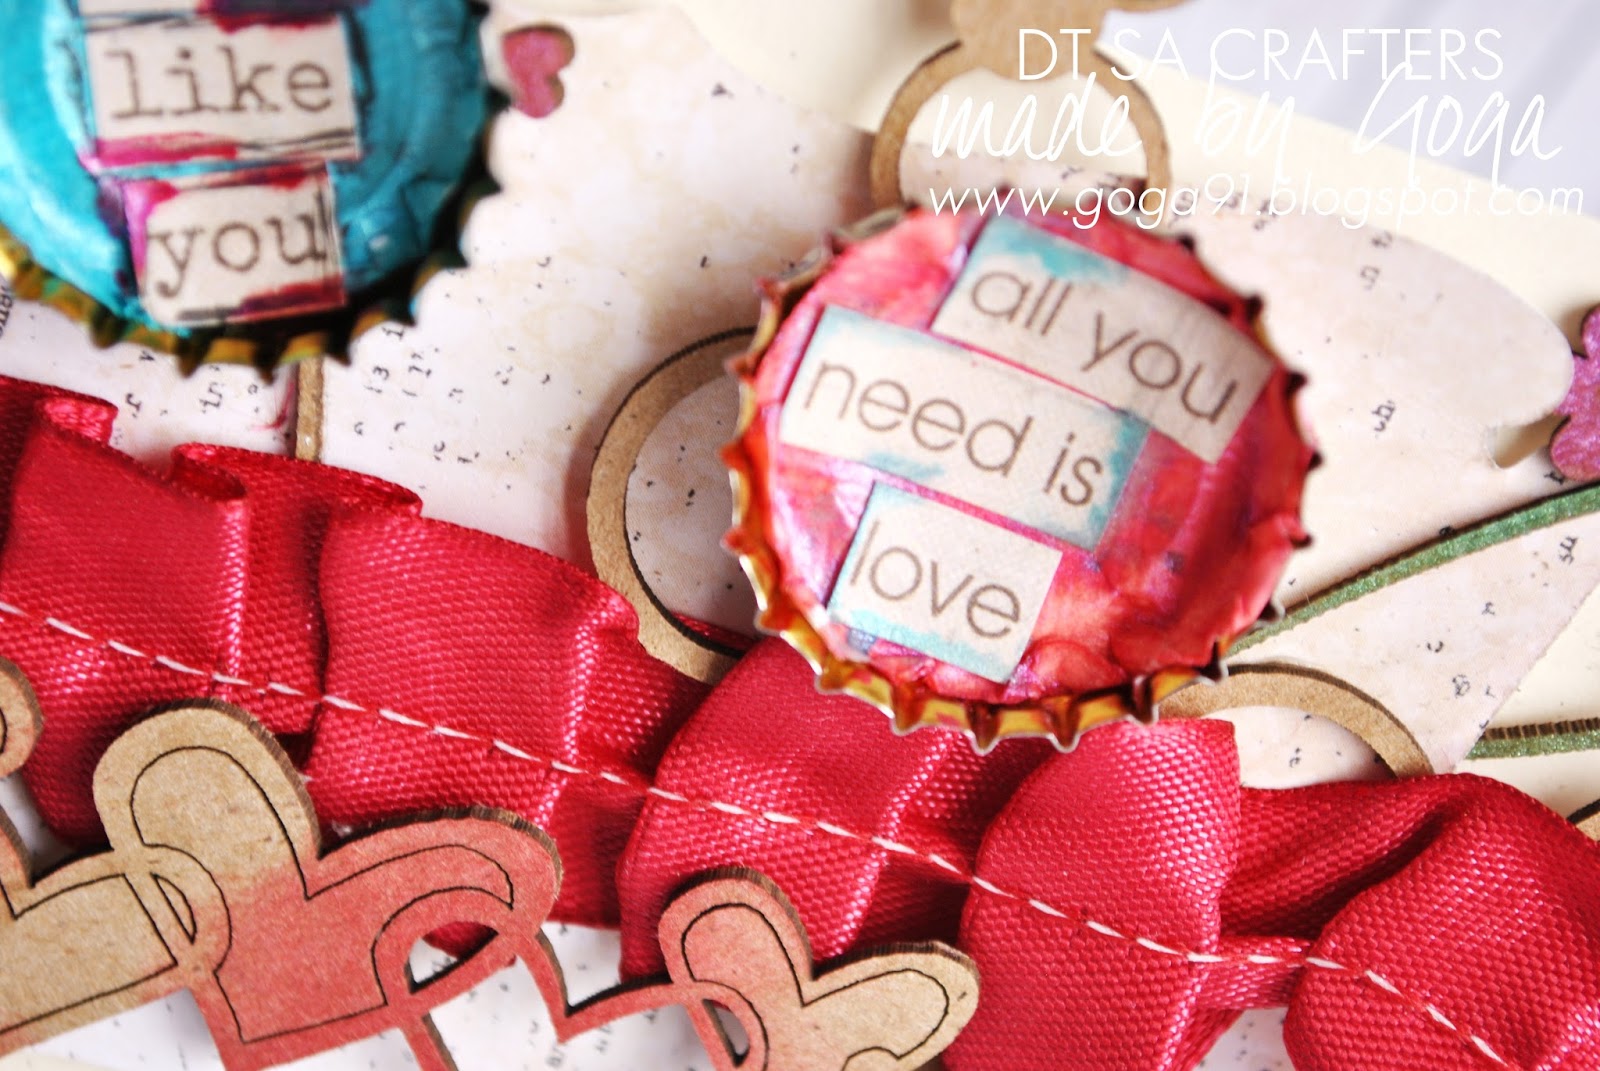
6. I found old bottlecaps from beer and altered them on mixed media embellisments! I love them! I would say that are really cool! I used a piece of doily and painted it by twinkling h20 and water and them I sticked to surface. What is more, I used 7DS words stickers and added some lines.
7. Then, I decided to stick other chipboards and I chose circle girland chipboard.
8. I wanted add sth really cool, sth sharped, that will differ character of my work. I chose intensive red stitched ribbon and I thought, that it can be extra original element of my project.
9. I added chipbord hearts chain, which I painted red distress ink
10. The whole chipboard hearts chain I sticked to ribbon using adhesive tape and 3D adhesive bricks.
11. Time for my mixed media handmade bottlecaps!
12. Mixed Media Spring Valentine Card is almost done! :)
13. In last moment I added my fav stamp
I hope that you like it? :)
Happy Scrappin'
Goga!


No comments:
Post a Comment